- A+
一.开启WIN10子系统WSL
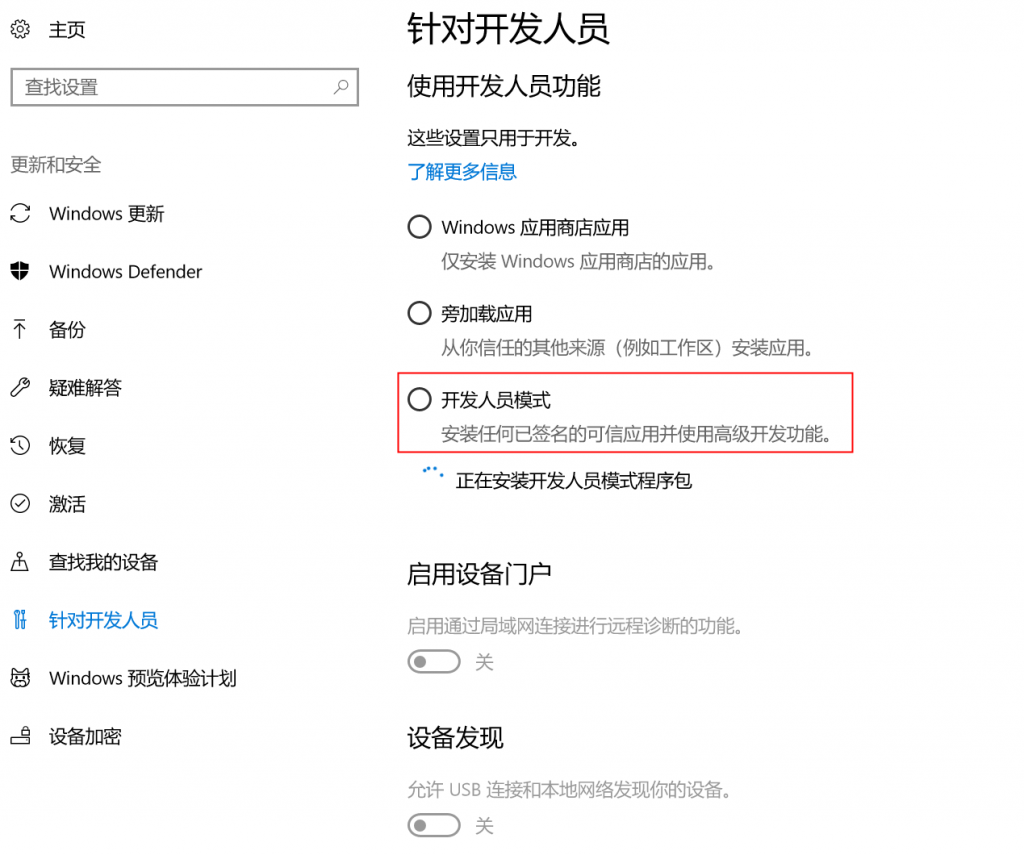
1.设置开发人员工作模式
设置——>更新和安全——>针对开发人员——>开发人员模式
2.启用WINDOWS子系统功能
控制面板——>程序——>程序和功能——>启用或关闭Windows功能——>适用于Linux的Windows子系统——>确定 (然后重启)

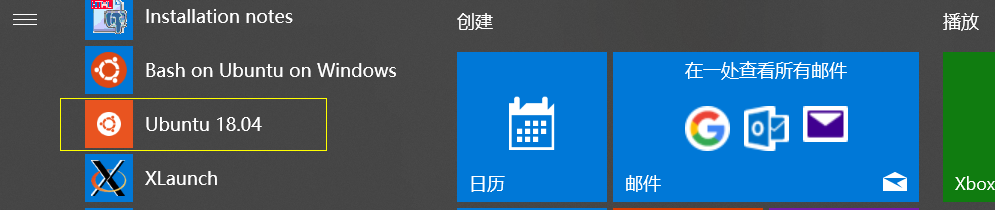
二、在应用商店里安装ubuntu
打开微软件应用商店,搜索ubuntu,然后安装


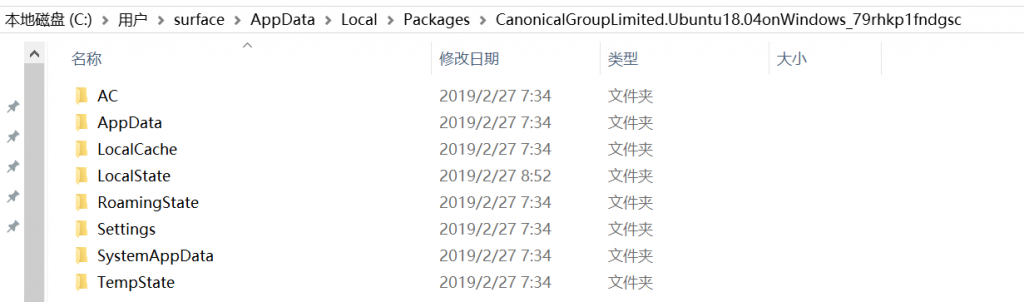
安装完成后,子系统放在这里:
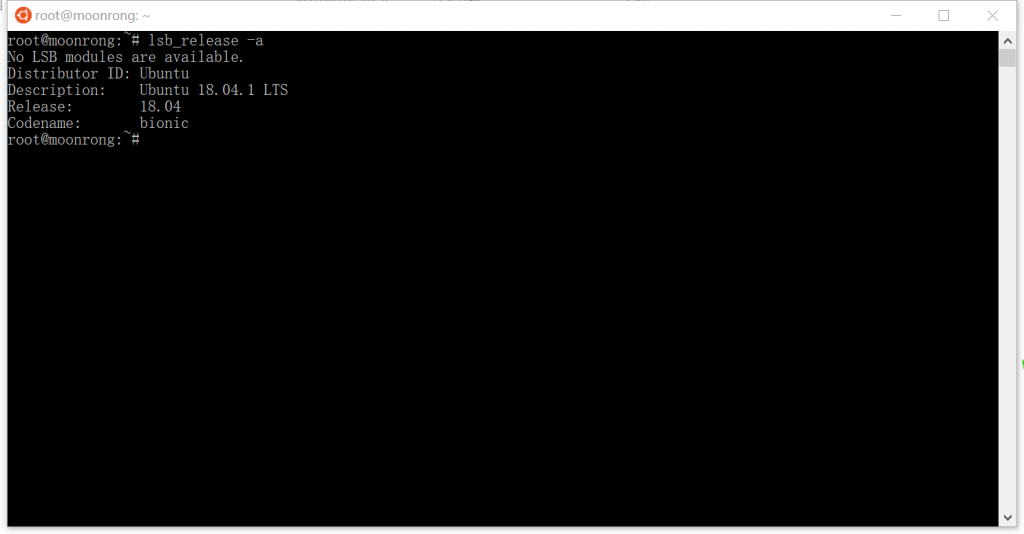
三.进入子系统并查看当前版本信息
- root@moonrong:~# lsb_release -a
- No LSB modules are available.
- Distributor ID: Ubuntu
- Description: Ubuntu 18.04.1 LTS
- Release: 18.04
- Codename: bionic
- root@moonrong:~#
四.修改默认源为阿里云镜像并更新
1.确认默认源并查看
- root@moonrong:~# cat /etc/apt/sources.list
- # See http://help.ubuntu.com/community/UpgradeNotes for how to upgrade to
- # newer versions of the distribution.
- deb http://archive.ubuntu.com/ubuntu/ bionic main restricted
- # deb-src http://archive.ubuntu.com/ubuntu/ bionic main restricted
- ## Major bug fix updates produced after the final release of the
- ## distribution.
- deb http://archive.ubuntu.com/ubuntu/ bionic-updates main restricted
- # deb-src http://archive.ubuntu.com/ubuntu/ bionic-updates main restricted
- ## N.B. software from this repository is ENTIRELY UNSUPPORTED by the Ubuntu
- ## team. Also, please note that software in universe WILL NOT receive any
- ## review or updates from the Ubuntu security team.
- deb http://archive.ubuntu.com/ubuntu/ bionic universe
- # deb-src http://archive.ubuntu.com/ubuntu/ bionic universe
- deb http://archive.ubuntu.com/ubuntu/ bionic-updates universe
- # deb-src http://archive.ubuntu.com/ubuntu/ bionic-updates universe
- ## N.B. software from this repository is ENTIRELY UNSUPPORTED by the Ubuntu
- ## team, and may not be under a free licence. Please satisfy yourself as to
- ## your rights to use the software. Also, please note that software in
- ## multiverse WILL NOT receive any review or updates from the Ubuntu
- ## security team.
- deb http://archive.ubuntu.com/ubuntu/ bionic multiverse
- # deb-src http://archive.ubuntu.com/ubuntu/ bionic multiverse
- deb http://archive.ubuntu.com/ubuntu/ bionic-updates multiverse
- # deb-src http://archive.ubuntu.com/ubuntu/ bionic-updates multiverse
- ## N.B. software from this repository may not have been tested as
- ## extensively as that contained in the main release, although it includes
- ## newer versions of some applications which may provide useful features.
- ## Also, please note that software in backports WILL NOT receive any review
- ## or updates from the Ubuntu security team.
- deb http://archive.ubuntu.com/ubuntu/ bionic-backports main restricted universe multiverse
- # deb-src http://archive.ubuntu.com/ubuntu/ bionic-backports main restricted universe multiverse
- ## Uncomment the following two lines to add software from Canonical's
- ## 'partner' repository.
- ## This software is not part of Ubuntu, but is offered by Canonical and the
- ## respective vendors as a service to Ubuntu users.
- # deb http://archive.canonical.com/ubuntu bionic partner
- # deb-src http://archive.canonical.com/ubuntu bionic partner
- deb http://security.ubuntu.com/ubuntu/ bionic-security main restricted
- # deb-src http://security.ubuntu.com/ubuntu/ bionic-security main restricted
- deb http://security.ubuntu.com/ubuntu/ bionic-security universe
- # deb-src http://security.ubuntu.com/ubuntu/ bionic-security universe
- deb http://security.ubuntu.com/ubuntu/ bionic-security multiverse
- # deb-src http://security.ubuntu.com/ubuntu/ bionic-security multiverse
- root@moonrong:~#
2.修改默认源
1)备份原配置文件
- root@moonrong:~# cp /etc/apt/sources.list /etc/apt/sources.list.mybak20190227
- root@moonrong:~#
2)修改源为阿里云镜像
用VIM进行替换
- root@moonrong:~# vim /etc/apt/sources.list
- root@moonrong:~#
- :%s/security.ubuntu/mirrors.aliyun/g
- :%s/archive.ubuntu/mirrors.aliyun/g
3.更新
- root@moonrong:~# apt update
- Get:1 http://mirrors.aliyun.com/ubuntu xenial InRelease [247 kB]
- Get:2 http://mirrors.aliyun.com/ubuntu xenial-updates InRelease [109 kB]
- Get:3 http://mirrors.aliyun.com/ubuntu xenial-security InRelease [109 kB]
- Get:4 http://mirrors.aliyun.com/ubuntu xenial/main amd64 Packages [1,201 kB]
- Get:5 http://mirrors.aliyun.com/ubuntu xenial/main Translation-en [568 kB]
- Get:6 http://mirrors.aliyun.com/ubuntu xenial/restricted amd64 Packages [8,344 B]
- Get:7 http://mirrors.aliyun.com/ubuntu xenial/restricted Translation-en [2,908 B]
- Get:8 http://mirrors.aliyun.com/ubuntu xenial/universe amd64 Packages [7,532 kB]
- Get:9 http://mirrors.aliyun.com/ubuntu xenial/universe Translation-en [4,354 kB]
- Get:10 http://mirrors.aliyun.com/ubuntu xenial/multiverse amd64 Packages [144 kB]
- Get:11 http://mirrors.aliyun.com/ubuntu xenial/multiverse Translation-en [106 kB]
- Get:12 http://mirrors.aliyun.com/ubuntu xenial-updates/main amd64 Packages [913 kB]
- Get:13 http://mirrors.aliyun.com/ubuntu xenial-updates/main Translation-en [368 kB]
- Get:14 http://mirrors.aliyun.com/ubuntu xenial-updates/restricted amd64 Packages [7,556 B]
- Get:15 http://mirrors.aliyun.com/ubuntu xenial-updates/restricted Translation-en [2,272 B]
- Get:16 http://mirrors.aliyun.com/ubuntu xenial-updates/universe amd64 Packages [732 kB]
- Get:17 http://mirrors.aliyun.com/ubuntu xenial-updates/universe Translation-en [302 kB]
- Get:18 http://mirrors.aliyun.com/ubuntu xenial-updates/multiverse amd64 Packages [16.6 kB]
- Get:19 http://mirrors.aliyun.com/ubuntu xenial-updates/multiverse Translation-en [8,440 B]
- Get:20 http://mirrors.aliyun.com/ubuntu xenial-security/main amd64 Packages [615 kB]
- Get:21 http://mirrors.aliyun.com/ubuntu xenial-security/main Translation-en [254 kB]
- Get:22 http://mirrors.aliyun.com/ubuntu xenial-security/restricted amd64 Packages [7,204 B]
- Get:23 http://mirrors.aliyun.com/ubuntu xenial-security/restricted Translation-en [2,152 B]
- Get:24 http://mirrors.aliyun.com/ubuntu xenial-security/universe amd64 Packages [425 kB]
- Get:25 http://mirrors.aliyun.com/ubuntu xenial-security/universe Translation-en [171 kB]
- Get:26 http://mirrors.aliyun.com/ubuntu xenial-security/multiverse amd64 Packages [5,600 B]
- Get:27 http://mirrors.aliyun.com/ubuntu xenial-security/multiverse Translation-en [2,676 B]
- Fetched 18.2 MB in 10s (1,802 kB/s)
- Reading package lists... Done
- Building dependency tree
- Reading state information... Done
- 208 packages can be upgraded. Run 'apt list --upgradable' to see them.
- root@moonrong:~#
五.安装图形界面相关软件及配置过程
1.安装VcSrv
下载VcSrv并在WIN10上安装
https://sourceforge.net/projects/vcxsrv/
安装完成后启动Xlaunch
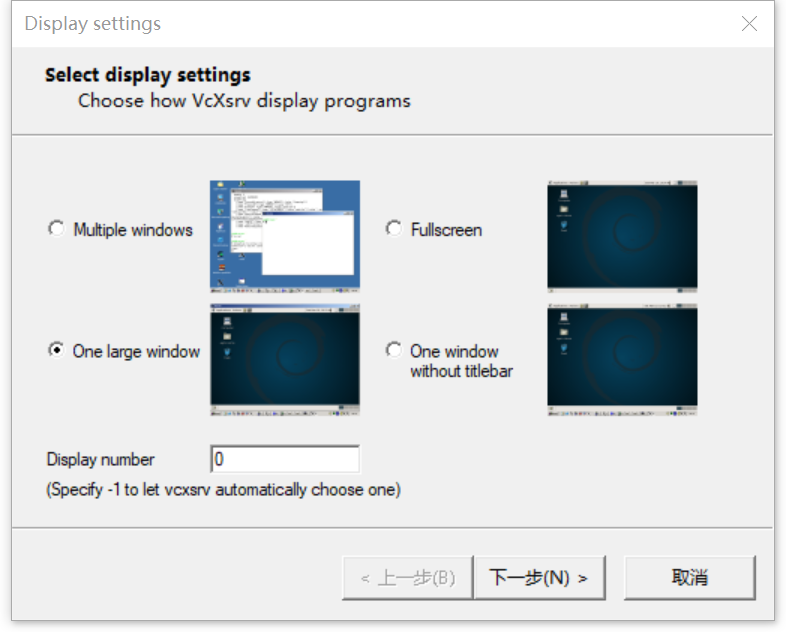
按上图完成设置,并一直按下一步直到出现下图界面

2安装ubuntu-desktop,unity,ccsm
- root@moonrong:~#apt-get install ubuntu-desktop unity compizconfig-settings-manager
3.配置ccsm
在XLaunch启动的情况下输入
- root@moonrong:~# export DISPLAY=localhost:0
- root@moonrong:~# ccsm

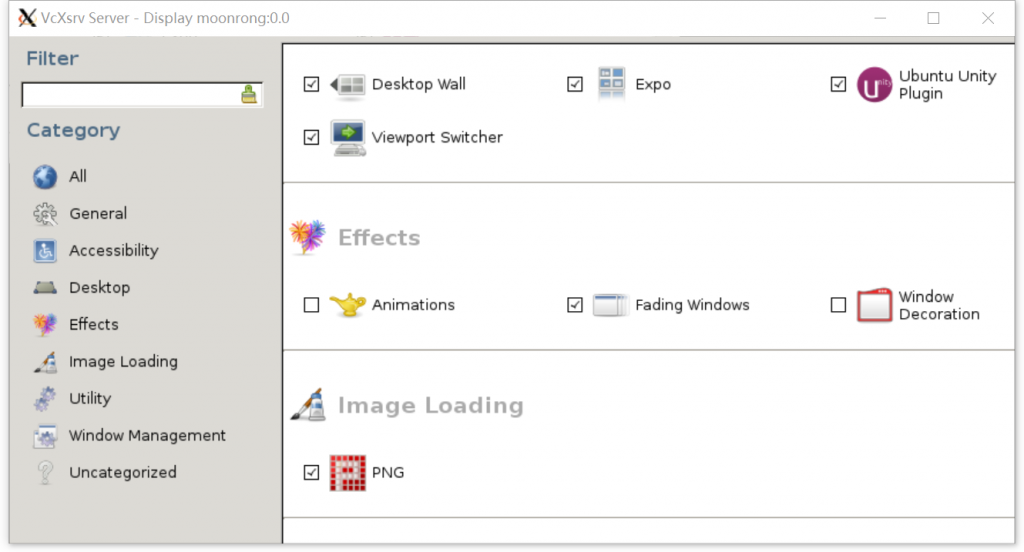
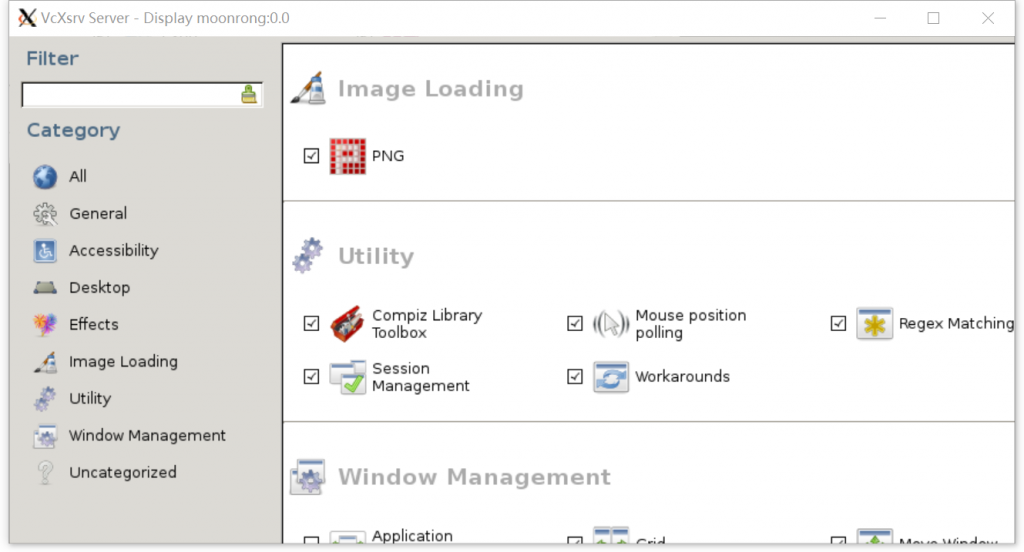
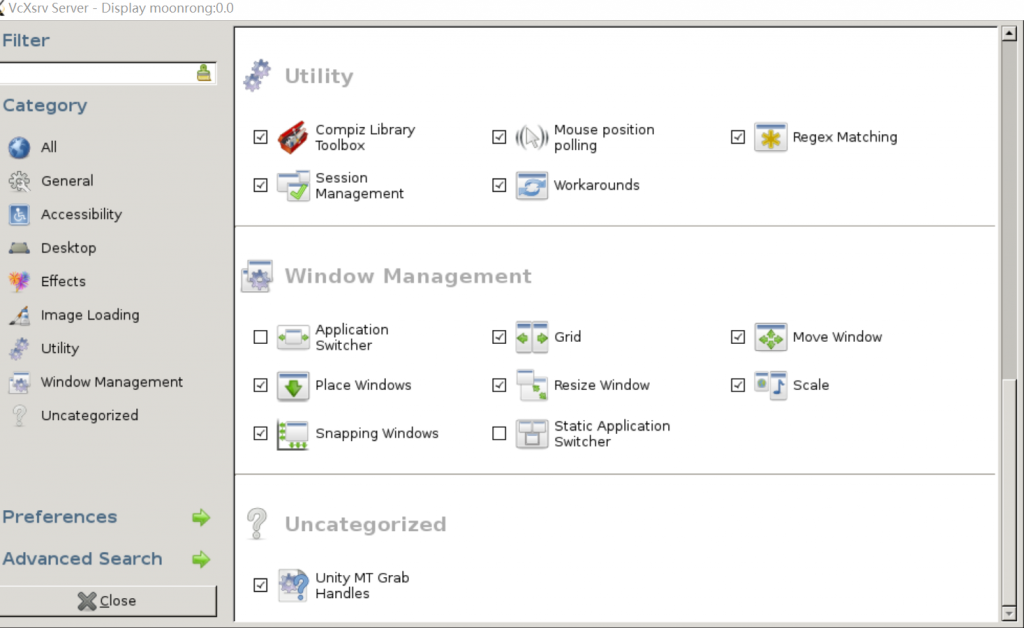
配置完成后点击close关闭
4.开启桌面
root@moonrong:~#compiz
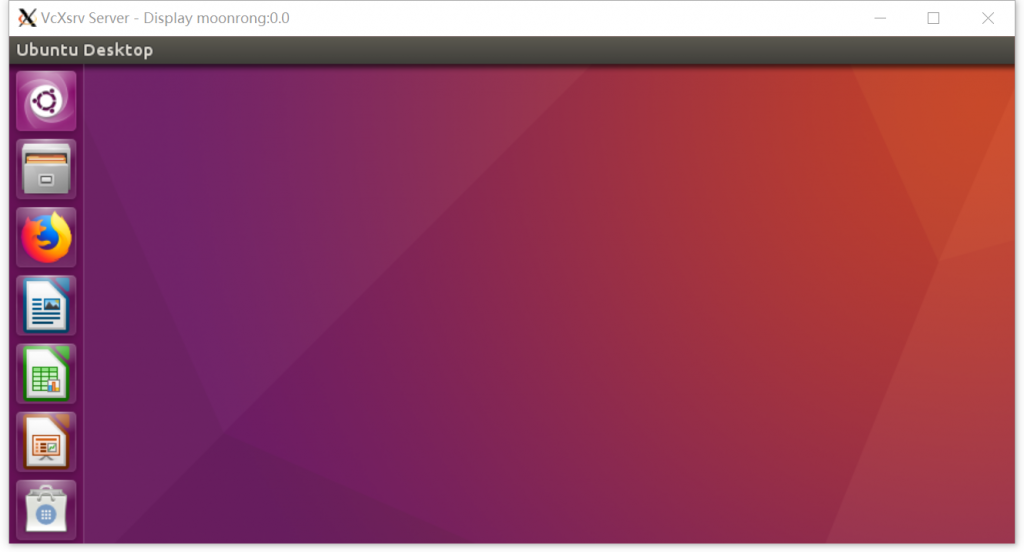
最终启动完成,WIN10下界面如上图所示。
六.如何重启windows 10子系统(WSL)ubuntu
WSL子系统是基于LxssManager服务运行的
在WIN10的CMD命令下输入下面命令完成重启
net stop LxssManager
net start LxssManager